


Blogger
 Throughout the project we were live-posting everything that happened. We documented any changes made to the project for any one of the three products. This was helpful as the blog acted as a central hub for all of the resources we needed for the research and planning, construction and evaluation stages. We could easily refer back to any of the research we made earlier on, when writing for the construction and evaluation stages.
For presenting the evaluation, Blogger was useful as you could embed web tools from websites like Prezi and Padlet into the post's HTML, increasing interactivity.
 |
| HTML code for my question 2 |
Research and Planning
Research for Video References - Youtube.com
When we wanted to easily look at inspirational music videos within the indie genre for conventions, costumes and styles we used Youtube and made a playlist to group them all together. This was useful as any of us could easily access this playlist from most devices we were on: smartphone, tablet, laptop or edit suite.

Making of Steal-o-Matic and Animatic - Yotube.com, KeepVid.com, Adobe Premiere
Our steal-o-matic and animatic were very important for us, so that we could have a visual representation for our video for reference when we needed it. When making our steal-o-matic, real media texts had to be downloaded from Youtube through Keepvid.com. We used Adobe Premiere for both videos to edit the length of the clips/photos and to add titles.
Purchasing Props - Amazon.co.uk, GOInternational.co.uk
Props were an essential element in the video, therefore we spent time researching and buying the right ones. We used two websites: Amazon and GO International. Both websites had a wide range to choose from for the right price.

Communication - Facebook.com
At first, we created a Facebook group with all four of us as members but we also had a group chat. They were extremely useful for quick questions, reminders for costumes and shoot dates, sharing ideas or issues and organising meetings.

Construction
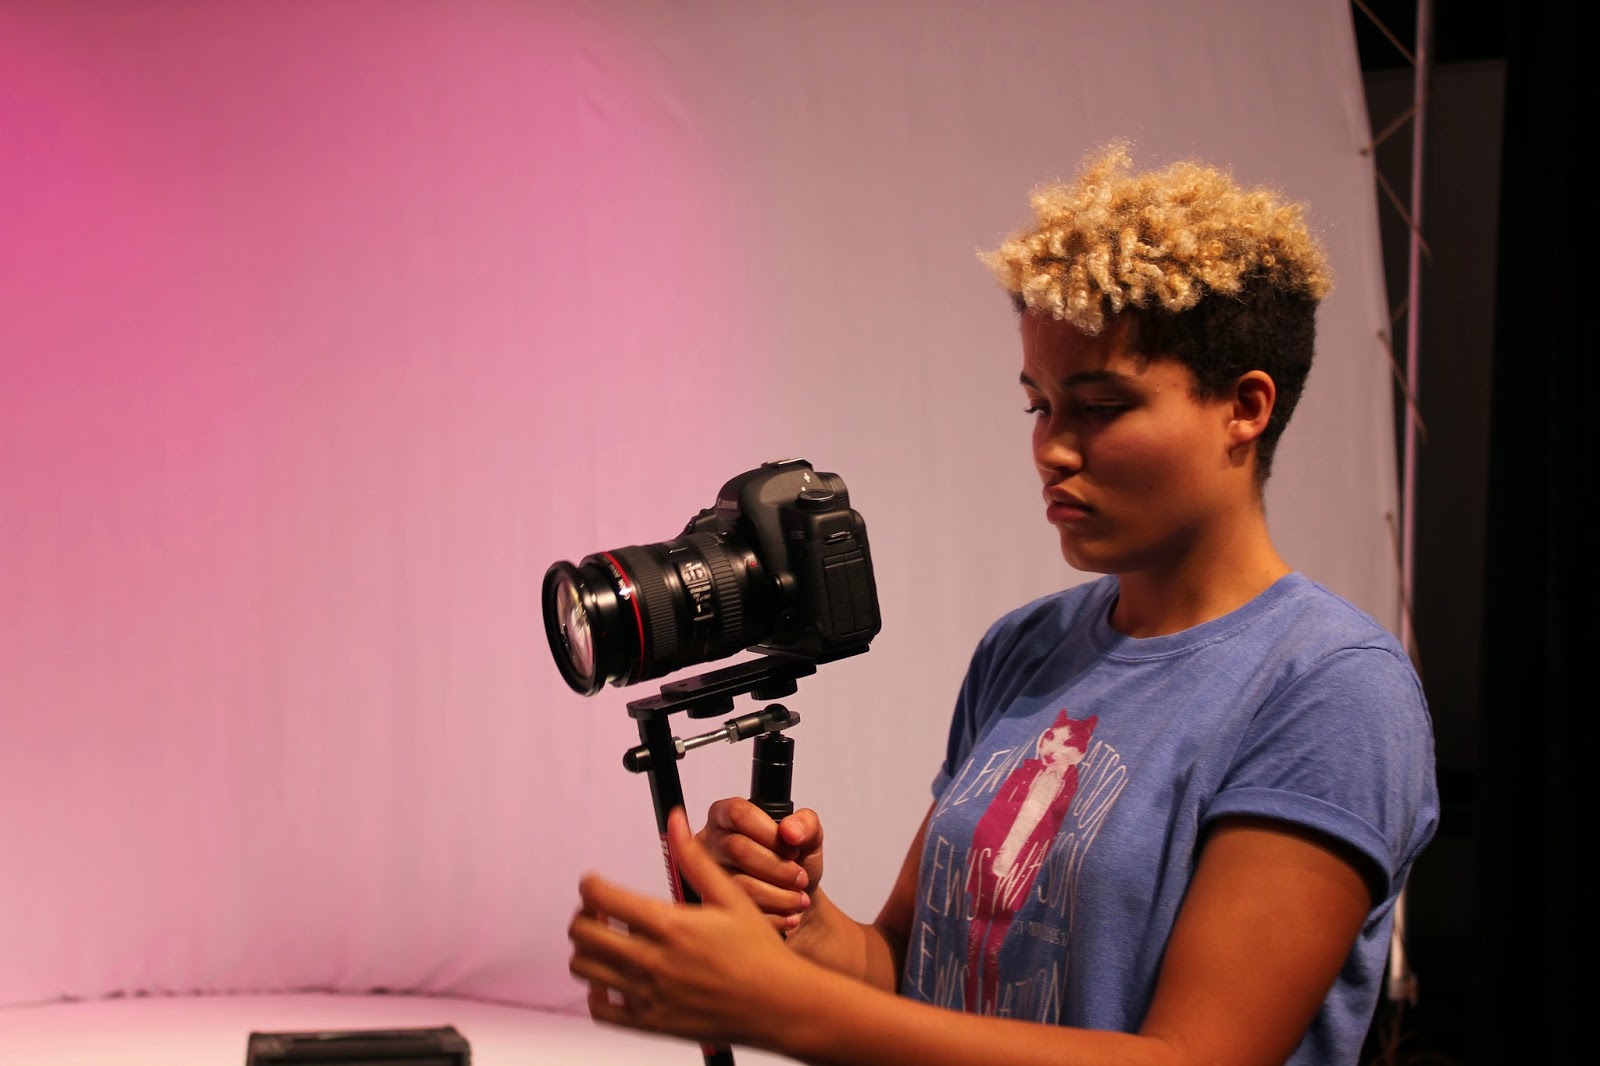
Shooting - Canon 5D Mark II, Tripod, Shoulder Mount, Glidecam
The camera we were using for filming and taking photographs was the Canon 5D Mark II. We found the camera easy to use and produced a clear image in HD. Whilst filming we could modify the white balance and the contrast, meaning that we would spend less time grading the footage later on.

With the filming camera we used the tripod, shoulder mount and glidecam to provide us with a variety of framing and shot types.

 |
| The Shoulder Mount |
Lighting - Leapfrog Lighting Desk, Arri 100K Lights
When lighting the set, we used the Leapfrog Lighting Desk which controlled the Arri 100K lights. These lights had a wide range of colour filters, which we took advantage of when lighting our different setups.


A downside to these lights was the large amount of time it took to set up and position them before filming. The studio was being shared by a few groups, who had different lighting setups, meaning the lights were moved every time. However there was nothing that could be done to prevent this, so we just had to allow extra time before shooting to adjust the lights.

Playback - 50 Inch Playback Monitor, MacBook Pro, iTunes
By having a large playback monitor, we could watch what was being seen by the Canon 5D in realtime. This was useful because it was easier to manually focus and spot flaws (for example something that should not be in shot that is) on a larger screen. It also meant that we could all see the image from different distances around the studio which was important for anyone in the lighting desk who needed to adjust the lights accordingly.


The MacBook Pro was connected to the sound system in the studio, so we could playback the song on iTunes really loudly over Gavin's drumming to make sure we were singing the right lyrics.
Editing Footage - Adobe Premiere, Adobe After Effects
Adobe Premiere Pro had a straightforward, non-linear style which made editing easy for everyone. We used the software to cut and arrange clips on the timeline. We could also create multiple sequences, so we used this to edit and sync up different clips to avoid mistakes and clutter on the main sequence.


Lastly, for editing the footage, we used Adobe After Effects for particular shots that needed more attention. We used this software to stabilise three shots and also to correct the colour of two in specific areas of the frame.


Editing Photographs and The Digipack Cover - Adobe Photoshop
Adobe Photoshop was used to edit the digipack and the images for the website. We were all very familiar with Photoshop, therefore we all edited photos.
For the digipack we had many different layers which we modified separately, which was useful as we could easily and quickly change a specific section if needed.

For the website, we had to edit all of the publicity photographs to make them come across as more professional. To do this we used a variation of adjustments:
- Brightness & Contrast - By increasing the brightness and contrast (separately) the colours appeared brighter and the shadows became darker, which made the whole picture more striking
- Exposure - When the picture was too dark and the brightness tool wasn't enough, the exposure tool was used to make everything brighter
- Vibrance - We used this tool to make all of the colours more vivid while not making skin tones too orange (which would happen with the saturation tool)
- Clone Stamp Tool - This was an important for removing imperfections on the floor and removing the dark line that separated the backdrop from the floor to make it appear as an infinity background


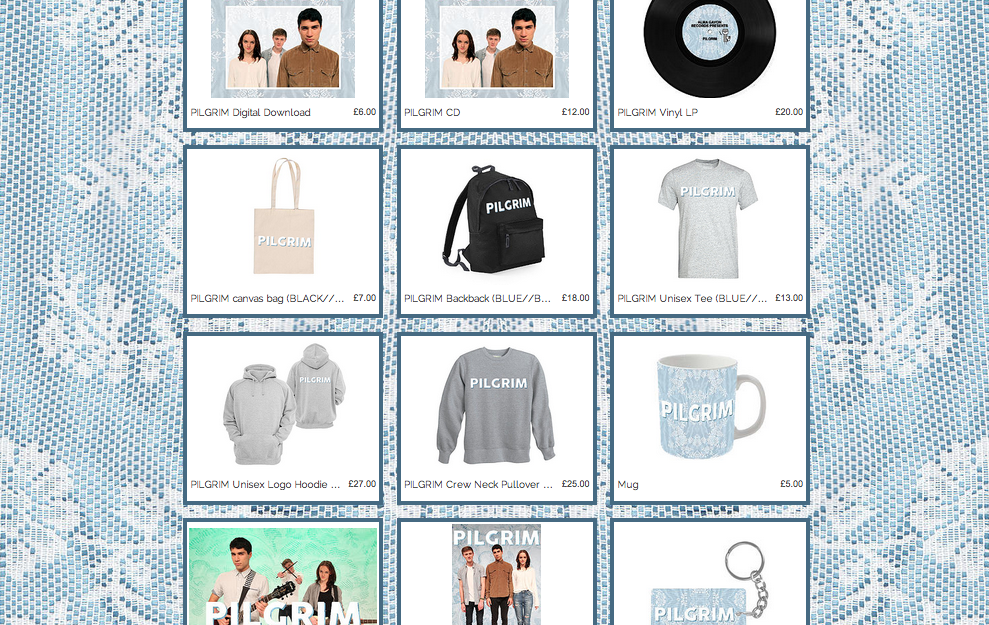
Creating The Website - Wix.com, Internet Explorer, Google Chrome
We created our artist website on Wix, a free, online website which allows you to create your own website. It was easy for everyone to use as it did not require a previous knowledge of how to code HTML. It also gave us a fair amount of creative freedom by giving us the ability to create, manipulate and move text, shapes, photos and other features.

One problem with this website is that it had a tendency to make the web browser crash, which caused us to lose our progress a few times. To solve this we changed web browser and used Internet Explorer as opposed to Google Chrome, which worked better.
Social Media - Facebook.com, Twitter.com, Instagram.com
Again, we used Facebook to communicate with each other when we were not together. It was mainly to remind each other about shoots and costumes.


We also used social media to promote the band on their Facebook, Twitter and Instagram accounts to give fans the opportunity to keep updated with the band.


Evaluation
Gifs - GifYoutube.com, Adobe Photoshop
The website was useful for creating gifs from Youtube videos, which I used in my blog posts to illustrate points with sections of videos.

I used Adobe Photoshop to create gifs with still images, which was new skill for me. It was practical for showing a comparison between different images.

Slideshows - PowerPoint, Slideshare.com, Prezi.com
I used Slideshare to upload PowerPoints that I created offline to display my points more effectively. I also used Prezi which is similar to PowerPoint, but more interactive and engaging for the viewer. I liked using these because it was more interesting and more condensed than paragraphs of text.
Presenting Information Interactively - Padlet.com, Examtime.com, Tagul.com
These were new web tools which I had only just discovered over the course of this project. They helped me to present information in my evaluation in a more interactive way, for example in word clouds or mind maps.


Audience Feedback - SurveyMonkey.com
We used this website to create an online survey which was filled out anonymously by family, friends and strangers. We could ask as many quantitative and/or qualitative questions as we wished and were able to customise the survey to fit the question. When analysing the results, the data was clearly set out in graphs and charts which was easy for us to understand.
Sharing and Communication - Facebook.com, Twitter.com
We used Facebook and Twitter to share the video and survey together, which was shared again by friends and relatives. We did this to widen it's reach, so that we could obtain more results from more people.
In addition, we shared the video and survey to the Dog Is Dead (the real artist of the song) Facebook and Twitter pages, asking for feedback from our primary target audience, which left us with over fifty responses in total.


To conclude, I felt the technology we used throughout the project was taken full advantage of for each stage and for each of our final products. The proliferation of new media technologies has given us easier and more effective ways to go about this type of project. A wider scope of new media technologies has given us increased ease of communication, widened creative possibilities and higher quality final products from using new hardware and software.
No comments:
Post a Comment